


Updated June 2026
Pressure washing before and after photos are the single most powerful proof asset you can put on your website. A homeowner who sees a driveway transformed from oil-stained grey to bright white concrete doesn't need to be persuaded — the decision is already made. This guide covers how to take before/after photos that look dramatic, which surfaces produce the highest-impact results, and exactly where on your website to place them so visitors turn into quote requests.
This is based on GrowLocal's proprietary research into top-ranking local business websites across Austin, Denver, Phoenix, Charlotte, Nashville, and Tampa.
Why do pressure washers need before and after photos on their website?
Pressure washing is entirely a visual service. The value you deliver — green algae gone, grey driveway bright again, oxidized siding back to its original color — cannot be described as effectively as it can be shown. A visitor who reads "professional results" and a visitor who sees a split photo of the same driveway before and after your machine hit it are having two completely different experiences.
Across GrowLocal's proprietary research into top-ranking pressure washing websites, every analyzed competitor used real project photography with before/after transformation as the primary proof asset. Not a single one used stock imagery. The strongest sites went further: they added an interactive before/after comparison rather than static side-by-side pairs, and several placed a "See Before & After" button directly in the hero section as a primary CTA alongside "Get a Quote."
That last detail matters. Before/after photos aren't just gallery content — they're a conversion mechanism. When a homeowner clicks from Google to your site and immediately sees a driveway that looks like their driveway, the mental leap from "browsing" to "I need to call this person" shortens dramatically.
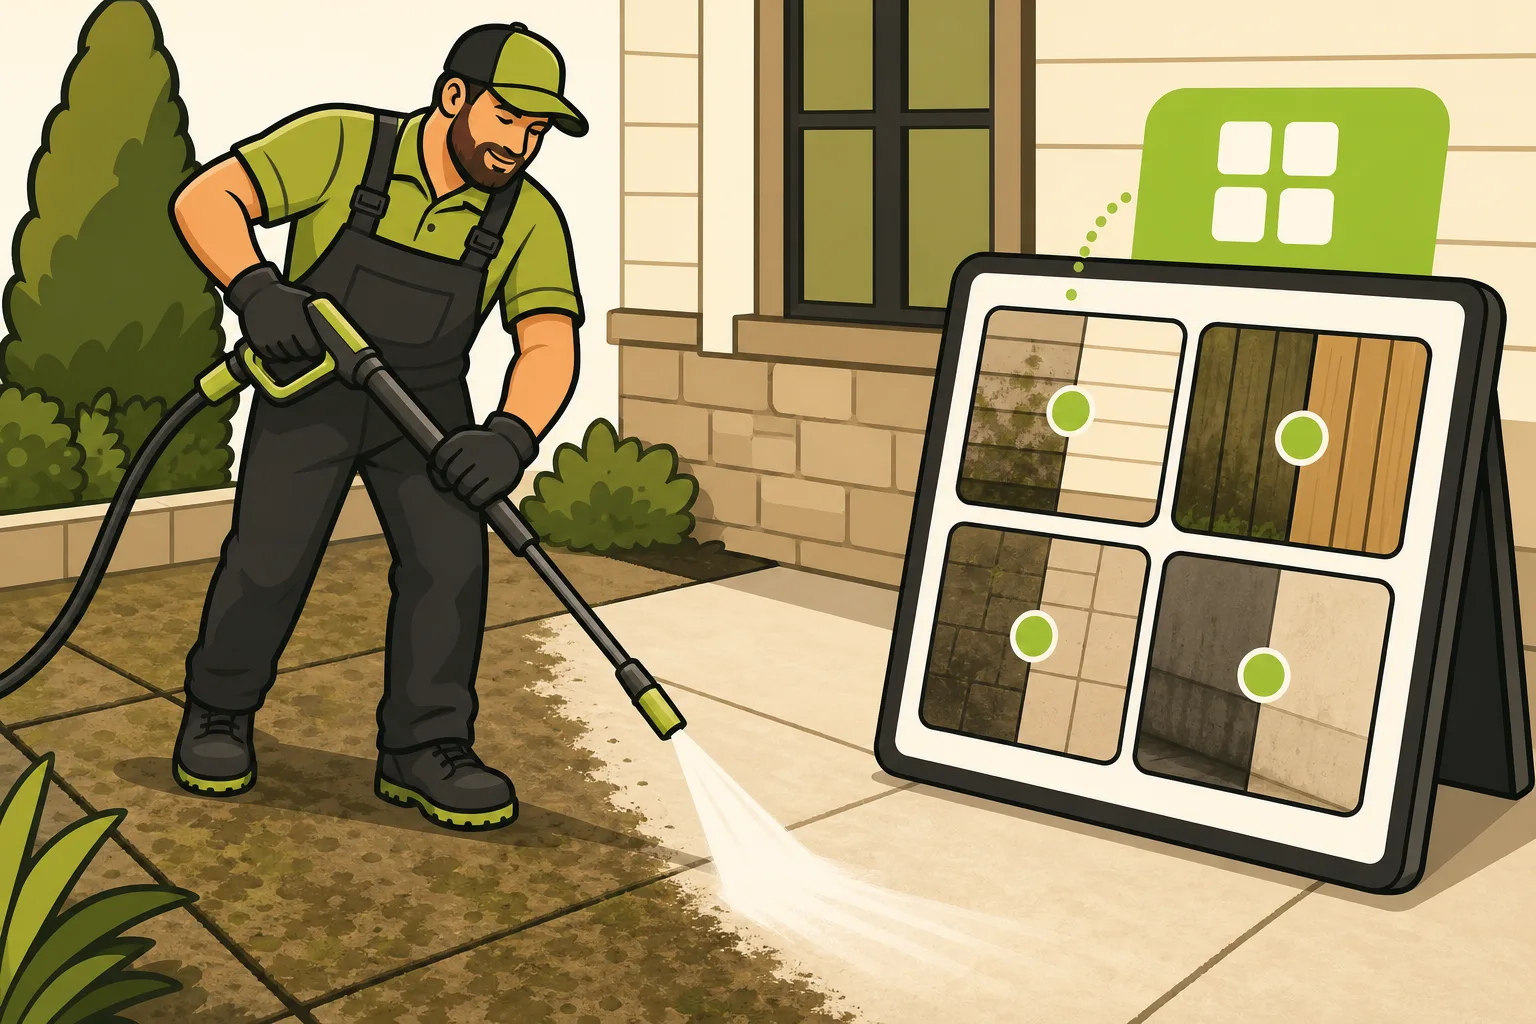
What surfaces make the most dramatic before and after pressure washing photos?
Not all surfaces photograph equally. The surfaces that produce the most striking visual contrast — and therefore the most persuasive website content — are:
| Surface | Why It Works | Best Shot Type |
|---|---|---|
| Concrete driveway | Oil stains + embedded dirt create extreme before/after contrast | Wide shot showing full driveway + close-up of a stained section |
| Algae-covered siding | The "green to white" transformation is the category's signature image | Full wall shot at the same distance before and after |
| Oxidized/stained roof shingles | Color change is dramatic; signals soft-wash expertise | Wide roofline shot from street level |
| Wood decks | Before: grey/mold-covered wood; After: bright natural grain | Corner angle showing surface texture |
| Walkways and patios | Strong contrast; visible in a single wide shot | Straight-on overhead or close angle |
Lead your gallery with concrete driveways and algae siding first. These are the surfaces homeowners recognize immediately as their own problem — the HOA-violation letter, the pre-sale cleanup pressure, the spring "the house looks terrible" realization. If a visitor sees their exact situation in your gallery, you've already closed half the sale.
How do you take good pressure washing before and after photos with your phone?
You don't need a professional camera. The difference between a convincing before/after photo and a weak one is almost entirely in the setup, not the equipment. Follow these rules on every job:
Before you start:
- Take the "before" photo FIRST — before any water touches the surface. Don't forget this step.
- Shot from a specific position and angle. Mark where you're standing if needed.
- Wipe your phone lens. Job sites are dirty and a grimy lens blurs the contrast you're trying to show.
Camera settings and framing:
- Shoot in landscape (horizontal) orientation. This format works better on websites, in galleries, and on social media.
- Natural daylight is best — mid-morning or late afternoon. Avoid harsh midday sun that creates shadows.
- Wide shot shows the full transformation. Tight shot shows texture detail. Take both.
- No filters, no color adjustments. The raw transformation is the proof. Edited photos look staged.
After the job:
- Return to the exact same position and angle you used for the "before" shot.
- Same time of day if possible — matching light makes the comparison credible.
- Take multiple shots and pick the sharpest one.
One operational benefit worth noting: timestamped before photos are also liability protection. If a customer disputes pre-existing damage, you have dated evidence of the property's condition before you started.
Key takeaway: Across GrowLocal's proprietary research, every top-ranking pressure washing website used exclusively real job photography — zero stock images. The strongest performers went further, placing before/after images directly in the hero section with a dedicated "See Before & After" CTA. Real photos from real local jobs, shot consistently and displayed prominently, are the category's highest-converting website element. See our full local business website research.
How many before and after photos should a pressure washing website have?
At minimum: 10 pairs — enough to show range across surfaces and demonstrate that you're not a one-job operation. The practical target for a working gallery is 20–30 pairs, covering at least four surfaces (driveway, siding, deck, walkway).
Organize by surface type, not by date:
- Driveways (your opener — highest visual impact)
- House washing / siding
- Roofs (if you offer soft washing)
- Decks and patios
- Commercial (if applicable)
Grouping by surface helps visitors find the before/after most relevant to their job. A homeowner viewing your deck gallery is far more likely to request a quote for their deck than one who has to hunt through a mixed grid.
See our guide to pressure washing websites for how the full gallery structure fits into a site that converts.
Where on your website should before and after photos go?
Photos that sit only on a standalone gallery page get a fraction of the exposure they deserve. The highest-converting placement strategy uses photos in three locations:
1. The homepage — above the fold or just below it
One of the most effective CTA patterns observed across the category: a "See Before & After Photos" button placed directly in the hero section alongside "Get a Free Quote." This sends cold visitors immediately to your highest-proof content rather than asking them to navigate. Your homepage should show 3–6 featured pairs — just enough to prove the transformation, with a link to the full gallery.
2. Per-service subpages
Each service page (driveway cleaning, house washing, roof soft washing) should include 3–5 before/after photos specific to that surface. A homeowner visiting your driveway cleaning page wants to see driveways, not an assortment of everything you've cleaned. Matching photos to the specific service dramatically increases relevance — and relevance is what converts browsers into callers.
3. A dedicated gallery page
The standalone gallery page is where you put everything: all surfaces, all transformations, organized by type. It's what you link to from the hero CTA, from service pages, and from door hangers with a QR code. It should load fast — compress images before uploading. The transformation photos are already dramatic; they don't need to be large files to be persuasive.
The GrowLocal pressure washing website builder includes a gallery section built for exactly this structure — upload your own photos, organize by service, and they display as a clean, fast-loading gallery with a quote form nearby.
We see the same gallery-drives-conversion pattern across visual trades — roofing, painting, flooring, and landscaping all depend on before/after proof as the primary trust mechanism. See the cross-trade research at growlocal.site/websites-for.
For more on how your gallery connects to the full quote-request funnel, see How Pressure Washers Win More Jobs with Photos and Quote Requests.
Frequently Asked Questions About Pressure Washing Before and After Photos
How many before and after photos does a pressure washing website need?
At least 10 pairs to look credible; 20–30 pairs organized by surface type to run a genuinely converting gallery. More isn't always better — a gallery with 50 unorganized pairs is harder to navigate than 25 well-organized ones. Start with your 10 most dramatic transformations and add from there.
Do before and after photos actually increase quote requests?
Yes — and the data backs it up. Across GrowLocal's proprietary research into top-ranking pressure washing websites, every analyzed competitor used real before/after photography as their primary proof asset, and the strongest sites placed a "See Before & After" button directly in the hero section as a primary CTA. Photos reduce the hesitation gap between a visitor landing on your site and a visitor picking up the phone.
What's better for a website gallery: a slider or side-by-side pairs?
Both work in different contexts. A slider is best as a featured element on the homepage or a service page — one dramatic transformation, full attention. A grid of side-by-side pairs works better on the full gallery page because it loads faster and lets visitors scan more transformations quickly.
Can I use stock pressure washing photos on my website?
No — and visitors will notice. Stock pressure washing images typically show surfaces and equipment that don't match your market's common conditions (different concrete types, different siding materials, landscaping that doesn't look local). Across GrowLocal's research into local business websites, zero top-ranking competitors in visual service categories used stock imagery. Real photos of real jobs in your actual service area are what convert. A pressure washing website with 15 real local photos outperforms one with 50 stock images every time.
Where is the most important place to put before and after photos on a pressure washing website?
The single highest-leverage placement is the homepage, within the first scroll. Either show 3–4 strong pairs directly in the hero section, or place a "See Before & After" CTA button that links immediately to your gallery. Visitors who reach a gallery page within their first 30 seconds on your site are significantly more likely to request a quote than visitors who have to navigate to find it. Many pressure washers bury their best proof on a gallery page no one finds — don't do that.
Do I need a professional photographer for pressure washing before and after photos?
No. A phone camera and the right technique — same angle before and after, landscape orientation, natural daylight, clean lens — produces photos that convert just as well as professional shots. The transformation itself is what's dramatic, not the camera equipment. Spend your money on more jobs, not a photography session. The photos from those jobs become your marketing.
Is a pressure washing website worth building just to show before and after photos?
Yes — and the photos are the most important reason. A social media feed disappears; your website gallery is permanent and searchable. Every homeowner who Googles "pressure washing [your city]" can land directly on your gallery. For the full picture of website ROI for pressure washers, see Is a Website Worth It for a Pressure Washer?.